
A Country Craft Creations Design Team Project
Oh I have a fun project to share with you today. I've spoken often about how much harder it is for me, and many of you, to make masculine projects. Part of the problem is finding nice masculine type collections to work with. Well today I've flipped Authentique's Accolade collection from the normal 'A' side designs we usually pick first to work with to the 'B' sides. This is the side that normally compliments the primary designs. The flip side of the Authentique Accolade collection is a wonderful collection of brown and beige very masculine looking papers. I loved them and that's what I've used today for my mini.

My mini is 8" square with a 3" spine allowing for 7 1/2" square pages, of which there are 5 full pages with the 6th split into 3 smaller flips, which I'll share in just a bit. I've used 1/2" gussets between the pages which allows the book to lay nicely (see the photo below).

I opted not to do a full blown tutorial for this mini since the main construction is so similar to many of my other tutorials you can check them out on my YouTube Playlists Page. You might want to start with the How Do I Do That Playlist and branch out from there. But as always, with anything I create, I'm always here to answer any questions or help solve any snags you may have in your creative process. Never hesitate to drop me an email with questions, comments or concerns. And on that same line I love it when you share what you've made tailored after something I've shared!

I supplemented the main collection papers with Authentique Spectrum II and Artisan in Brown and Kraft. Here's a two page spread with two different closures. I was hoping to get the look of a belt on the right hand side.

Something I do often and really love the look is to cluster groupings of stickers and cut outs from the paper to create tuck in areas for photos or tags.
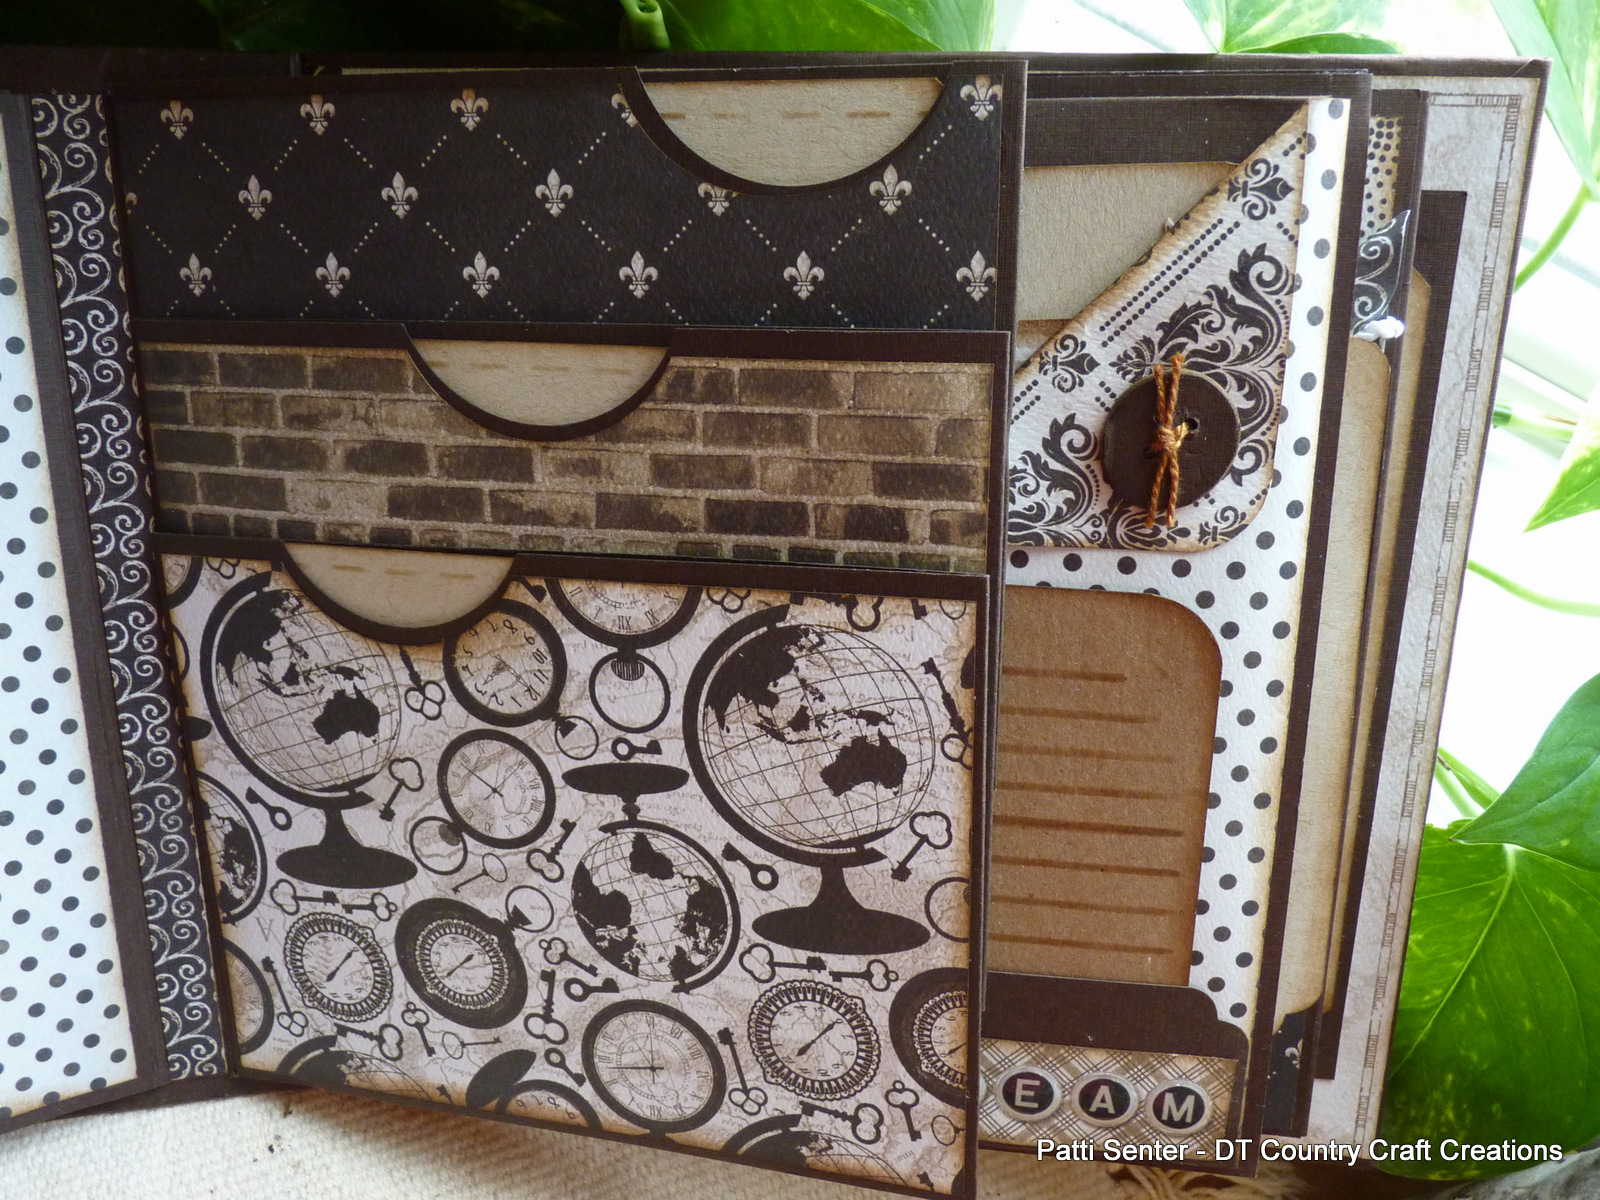
This is where I split the hinge to make 3 small flaps. This gives lot more movement and interest to your mini's. I used a 2" circle punch to make the finger pulls for the inside mats.

A smaller pocket left open at the side creates a great slip in for the narrower mats and a huge area for a large mat or photo. Since the pages measure 7.5" square there is lots of space for photos up to 7" square. I only allowed for three of the pages to have large side pockets. Since there is ample room within the page design to save lots of large photos I thought three kept the bulk down.

The keys on the tag shown here are also the keys I used to decorate the spine. By fussy cutting these two keys and adding the one from the sticker sheet I have a fun element for the outside. Snipping the top part of the keys and interlacing and gluing them gives the appearance of keys together. I added a good layer of Glossy Accents. The hanger is simply a very thin piece of Artisan brown paper twisted in the middle, looped around the keys and tucked under the canvas. The secret is making sure you securely glue everything down. I use my trusty Art Glitter glue, available in the store.

The spine is sticky back canvas Glimmermisted in browns. I haven't used this before so was unsure how strong the sticky back was so chose to add a good layer of Art Glitter glue.

There's lots more to share with you so please pop on over to my video and watch the walk through of each page. Thanks for joining me and have fun crafty day. Be sure and check out the Authentique paper collections at Country Craft Creations.
Here's some ideas using the scraps for Graduation cards -
Please visit Country
Craft Creations here -
you can also join
the Facebook groups
Visit me at A Soul's
Heartbeat on
1 comment:
This is incredible! Love the papers!
Post a Comment